Blouse to dress, again!
Another AnimeIowa project, the other half of the shiro/kuro Lolita pair.

For this dress, I went with a common Lolita silhouette, the collared blouse. Many Lolita coordinates use a blouse under a JSK, or jumper skirt. Offspring the Younger finds one-piece dresses easiest to wear so I went that way for her friend as well.
I've had NL 6078 in my collection for a quite a while waiting for a Lolita JSK project but it'll do just as well for a dress, I thought. I had such lovely fabric for the black dress, I scoured the inter-webs for a similarly nice fabric but in the end I found a pretty embroidered white cotton in the eyelet section at Joann's.
I don't have much in the way of construction pictures for this one. I did a small bust adjustment and otherwise kept with the pattern.
When I convert a blouse to a dress I don't cut the entire length. I check the back length of the wearer and then cut two or three inches longer. After I finished the bodice, I basted bottom of the front placket together. I had my young friend try it on and used a length of elastic tied at the waist to find the waistline.
It occurs to me now that I'm writing it out that I should have taken pictures of my zipper process. I didn't want a button opening down the skirt front so I cut the center back with a seam allowance and used an invisible zipper. The top of the zipper is up under the collar, you don't even know it's there:


I don't like to have the skirt attached at the bodice fitting stage, but I do like having the closures in place. For the first step I installed the zipper on the bodice back pieces, leaving the bottom of the zipper hanging, and closed the seam up to the neckline. From there I followed the pattern instructions for the button placket, collar and sleeves. This way we can do the fitting with the button front and the zipper in place, no fiddling with pinned fronts and backs. Then I trimmed the bottom of the bodice to the waistline we identified.
I unpick the zipper to about two inches up from the waist seam and apply the skirt which still has the back seam open. I finished the waist seam, in this case with the serger. Then I just start back in with the invisible zipper application down onto the skirt. I like this method because the short distance to the waist seam makes it easy to line up both sides of the waist at the zipper. There's just a whole lot less play in the fabric compared to inserting the zipper in one go.
The skirt is the similar to the black Lolita dress Detailed Here.

Two widths of the embroidered cotton and a ruffled underskirt dropped on a yoke for less bulk at the waist. Again the back underskirt edges were left out of the zipper. I wanted the skirts to be similar but not identical so for this skirt I applied ribbon channels and drawstrings on the underside of the skirt to gather it up into swags.

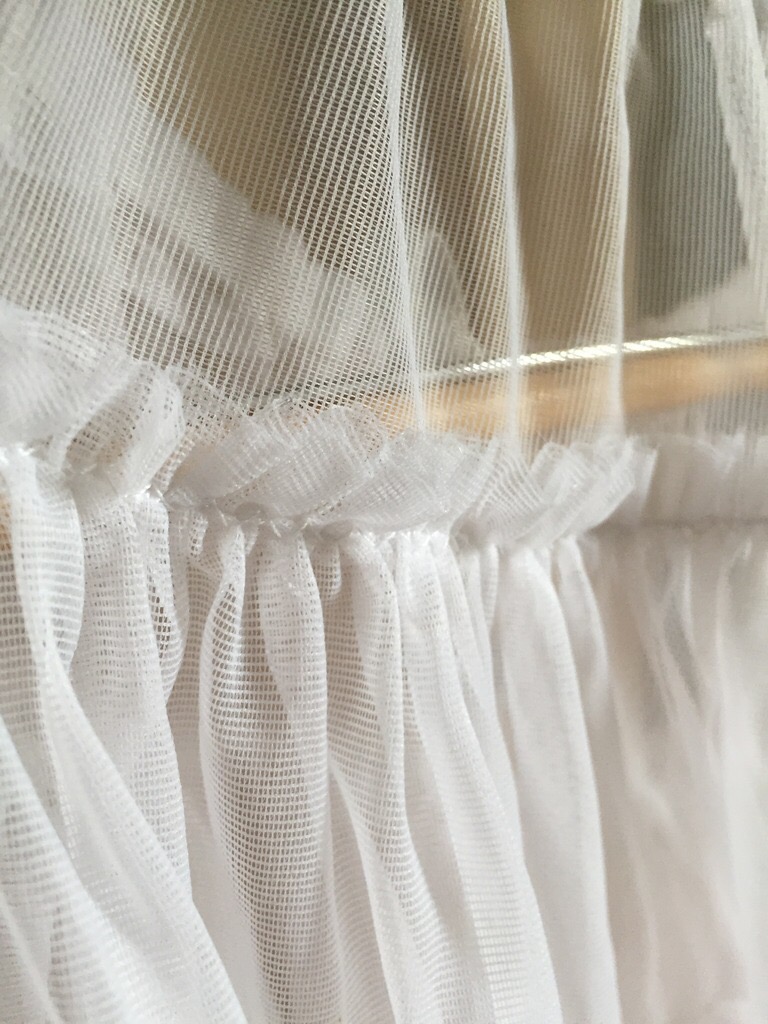
Young Friend wore four tiered petticoats to get the cupcake shape. I made them out of some sheer material I think must have been meant for drapery. Poly or nylon I'd guess, gifted to me by a relative. I had like a thirty yard piece and it tore like a dream down the lengthwise grain and didn't ravel, like At All! No edge finishing necessary! Sent the long pieces through the gathering foot and then just lapped the gathered edges over the plain edges and stitched. Fast, easy, floofy, basically free petticoats!

I really like this blouse pattern. The Peter Pan collar is a nice width and the sleeve button band is a neat little detail.
The pattern has the ruffle detail at the placket and the collar made from a single layer of gathered bias strip. It lived through the first wash pretty well, but I wonder how fuzzy the edges will get with subsequent washes.
All in all, a really nice blouse pattern that adapted into a sweet dress.
No comments:
Post a Comment