Tuesday, August 9, 2016

New Look 6078


Blouse to dress, again! 

Another AnimeIowa project, the other half of the shiro/kuro Lolita pair.


For this dress, I went with a common Lolita silhouette, the collared blouse. Many Lolita coordinates use a blouse under a JSK, or jumper skirt.  Offspring the Younger finds one-piece dresses easiest to wear so I went that way for her friend as well.

I've had NL 6078 in my collection for a quite a while waiting for a Lolita JSK project but it'll do just as well for a dress, I thought. I had such lovely fabric for the black dress, I scoured the inter-webs for a similarly nice fabric but in the end I found a pretty embroidered white cotton in the eyelet section at Joann's. 

I don't have much in the way of construction pictures for this one. I did a small bust adjustment and otherwise kept with the pattern. 

When I convert a blouse to a dress I don't cut the entire length. I check the back length of the wearer and then cut two or three inches longer. After I finished the bodice, I basted bottom of the front placket together. I had my young friend try it on and used a length of elastic tied at the waist to find the waistline. 

It occurs to me now that I'm writing it out that I should have taken pictures of my zipper process. I didn't want a button opening down the skirt front so I cut the center back with a seam allowance and used an invisible zipper. The top of the zipper is up under the collar, you don't even know it's there:


I don't like to have the skirt attached at the bodice fitting stage, but I do like having the closures in place. For the first step I installed the zipper on the bodice back pieces, leaving the bottom of the zipper hanging, and closed the seam up to the neckline. From there I followed the pattern instructions for the button placket, collar and sleeves.  This way we can do the fitting with the button front and the zipper in place, no fiddling with pinned fronts and backs. Then I trimmed the bottom of the bodice to the waistline we identified. 

I unpick the zipper to about two inches up from the waist seam and apply the skirt which still has the back seam open.  I finished the waist seam, in this case with the serger. Then I just start back in with the invisible zipper application down onto the skirt. I like this method because the short distance to the waist seam makes it easy to line up both sides of the waist at the zipper. There's just a whole lot less play in the fabric compared to inserting the zipper in one go. 

The skirt is the similar to the black Lolita dress Detailed Here. 


Two widths of the embroidered cotton and a ruffled underskirt dropped on a yoke for less bulk at the waist. Again the back underskirt edges were left out of the zipper. I wanted the skirts to be similar but not identical so for this skirt I applied ribbon channels and drawstrings on the underside of the skirt to gather it up into swags. 


Young Friend wore four tiered petticoats to get the cupcake shape. I made them out of some sheer material I think must have been meant for drapery. Poly or nylon I'd guess, gifted to me by a relative. I had like a thirty yard piece and it tore like a dream down the lengthwise grain and didn't ravel, like At All! No edge finishing necessary! Sent the long pieces through the gathering foot and then just lapped the gathered edges over the plain edges and stitched. Fast, easy, floofy, basically free petticoats!


I really like this blouse pattern. The Peter Pan collar is a nice width and the sleeve button band is a neat little detail. 

The pattern has the ruffle detail at the placket and the collar made from a single layer of gathered bias strip. It lived through the first wash pretty well, but I wonder how fuzzy the edges will get with subsequent washes. 

All in all, a really nice blouse pattern that adapted into a sweet dress.
Saturday, August 6, 2016

McCall's 6285

Blouse to dress in 115 easy steps! 


Okay, so, the AnimeIowa anime convention was coming around and I browbeat my daughter and her friend into fulfilling my dreams of a pair of Japanese Lolita-style dresses done Shiro/Kuro (black and white).


M6285, will you be my bodice??

(Lolita style is a Japanese street fashion that aims to look as cute and darling and modest as possible. It has nothing to do with skeevy stories from Russian literature.)

I had the good fortune to come across an absolutely divine black cotton embroidered lawn at Hancock Fabrics (RIP) on the fashion flatfold remnant table for $2.95 a yard. I knew immediately what it was for!

AnimeIowa is at the end of July. Black dress...hm. Lets go with open neckline. I love the
hybrid V-square of M6285 and the little puff sleeve is just what we needed. I had exactly 4 yards of the divine black lawn, so no mistakes allowed. Worked up a muslin, eliminating the button front in favor of a back invisible zipper.


I was a little dubious of the tucks the pattern uses instead of darts. For myself I've never had much luck with  bodices shaped by tucks but I also require a hella-FBA. Offspring the Younger pretty much slides right into standard Big4 Patterns, and the shaping was wonderful. Onward!

The bodice went together without incident. I used a basic facing I cut following the neckline:


I added some black cotton lace trim and satin ribbon trim to the bodice seams and started in with The Bows. Lolita style can be frothy salads of bows and lace, but Offspring likes to be a little more low-key.


The sleeve looked a bit plain to me so I added and small box pleat under the bow and a little ruffle. "I don't want so much ruffle," said no Lolita, ever. 


One defining detail of many Lolita coordinates is a 'cupcake' shaped skirt. I used 2 full widths of the lawn amounting to about 100" and a ruffled underskirt of 90" of muslin with a 6" deep double fullness ruffle of the embroidered lawn.  To keep the waistline trim I used a 45" width yoke to drop the underskirt fullness down a bit.


Another thing I like to do with underskirts is keep the center back edges out of the zipper, especially invisible zippers, which are wonderfully easy to apply and have also for me been incredibly fussy about crossing bulky seams. I finish the center back edge, or in this case take advantage of selvage edges, keep the back seam opening the same as the zipper opening, and keep the edge about 1/2" from the zipper application.


The cupcake shape comes from full skirts but also petticoats. The petticoat for this dress was one Offspring purchased at a past convention. Two tiers of 4-layer tulle gathers mounted on an a-line slip. I  was ever so glad not to have to wrestle tulle. Can I make tulle petticoats? Yes. Will I pay absurd amounts of money to other people to make tulle petticoats for me? Also yes. I'm weak.

The skirt and the underskirt are the same length. I made the swags by taking a big horizontal tuck and tacking with bows at six places around the skirt. 


Speaking of bows, the embroidery motif of the fabric was perfectly spaced to make a nicely sized bow with the bands of embroidery at each edge.


The necklace is a a length of scroll-y trim and one of loopy trim zigzagged together with deconstructed bits of a bead and chain necklace I never wear.


The headdress (another essential item for a Lolita Coordinate) is more of the loopy trim and gathered lace with grosgrain ribbon and a heart pendant from my jewelry making stash. 


Simplicity 8114

A dressmaking exercise in which I completely disregard the pattern directions!


I wanted a new bodice to go with the bustle skirt I wear to the AnimeIowa Convention. 
The skirt and bodice are patterns by Truly Victorian, TV 216 and TV405. I love this dress with the fiery heat of a thousand suns, but Iowa in late July is hot as balls, as the young people say. Or at least they used to, I dunno. I'm old and tragically un-hip and chronically late to the pop culture party. 


So anyway, when I saw S8114, I thought it would look great with my skirt, and I lunged! Look at that neckline, that collar! It's amazing,  It's also completely in the 1890s and my skirt is from 1875 but all ya gotta do is say 'steampunk' and all is forgiven. 
I planned to wear my new vest (for that was my intention, forget sleeves in this heat!) over a cool-to-wear blouse I love, a lacy, modified version of Kwik Sew 3668 and my TV skirt. Now, TV patterns are true to the Victorian era form and are meant to be worn over a corset. I lace my corset pretty aggressively. I may be pushing fifty, but my waist will always be thirty...inches. :D
Ordinarily I would cut a Big 4 pattern in size 18 and do a generous FBA. I've never made a Big4 pattern for my corseted figure. For this project I cut size 20, using the finished garment measurements aiming for a bust 1.5 inches over my corseted bust measurement. I added three inches in length between bust and waist and let the extra width at the waist do what it was gonna do. Whatever, that's why we have princess seams. Speaking of which, I particularly like the shoulder princess seams in S8114. 
Tested it in muslin and holla! It worked! Let's do this thing! 
My fabric is a lightweight silk probably meant for drapery. It's not so slubby that I'd call it doupionni, but definitely not smooth enough to be taffeta. I Whatever it is, when I got  a gozillion yards of it years ago to make the original bodice and skirt I washed and dried it. "Gasp!" you say?  Ain't nobody got time to fuss over fabric. Washing did change the texture a little but it does nothing to change the lustrous glow silk has. I don't wash the pieces very often but it gives me enormous peace of mind knowing I can break a sweat now and again and not have to wear it forever and ever amen. 
Anyway, it all went together without incident. Had to make some changes to the back and side back to accommodate the bustle. It's hard to see my marks but I added a good three inches in length at the hem and lots of flare for fullness over the bustle. I tapered back to the original hem length at the front.


I brought in the waist, mostly at the side seam and the only other fit adjustment was in the shoulder seam. It was fine at the armhole, but gaped a bit at the neck edge. Pinched out the excess and redrew the back neckline. I hadn't cut the collar yet so I walked the seam  lines to be sure they'd still matched up. 


I should mention at this point that the pattern calls for fusible interfacing on all the pattern pieces.  Fusibles and I have a tense relationship so I did as TV patterns  instruct and flat lined with a sturdy cotton. This comes in handy for boning. I cut the seam allowances such that there is just enough space between the serger edge I use for flatlining and the seam to slide in a piece of quarter inch flat steel corset boning. (I haven't used plastic boning since I learned corset making. Flat and spiral steel boning will NEVER buckle.)


The pattern wants you to add the collar and lining, leaving the hem open. You match up the seams and then topstitch to create boning channels between the interfaced outer fabric and the lining. Then they want you to bind the hem...Talk about fussy! No. Doing it my way. 
 The pattern calls for boning all the way up the front and back seams, clear to the shoulder seam. I  boned from hem to bust level at front,  hem to two inches away from the armhole at the side seam and waist to bust level at the side back and back. 
After boning the seam allowances, I applied the collar and then bagged the lining, turning out through a space at the back hem.   I cut a two inch facing of the brown silk for the armhole following the lines of the pattern. To keep it less bulky I didn't flatline but interfaced with French Fuse and worked a Hong Kong binding which I slip stitched to the lining.  I'm giddy over these facings. Plaid bias bindings are my BFF!


If you're looking at that lining and thinking, "Aaugh, my eyes," well, join the club. 
For a gift, Offspring the Elder had an artist friend from Tumblr draw me as a dragon jealously guarding a hoard of fabric. I feel like she's trying to tell me something, so I try to use up stuff I have. The plaid is also silk, gotten from Hancock Fabrics. I found two ten yard rolls of plaid silk in the deco Spot-The-Bolt section marked at 90% off the tagged price which was $14.95. Silk, for a buck-fifty a yard. Might be part of the reason they went tits up. 
The pattern has sort of an under-vest that zips closed and is covered by the double breasted front. The tight Victorian fit I was aiming for is incompatible with zippers so I used a buttonhole and hook arrangement to hold the underside with ball buttons on the top side. 


I used  radically different construction construction methods but stayed true to the pattern because I'm in love with the collar as it looks on the pattern envelope. Did it come through? Heck yes it did!! 


Sunday, February 16, 2014

Burda 7315

Have you ever been idly flipping through your mumble-teen thousand collected patterns and come across one that seizes you by the tailbone and drags you into a night of creative euphoria/dread of the coming dawn?

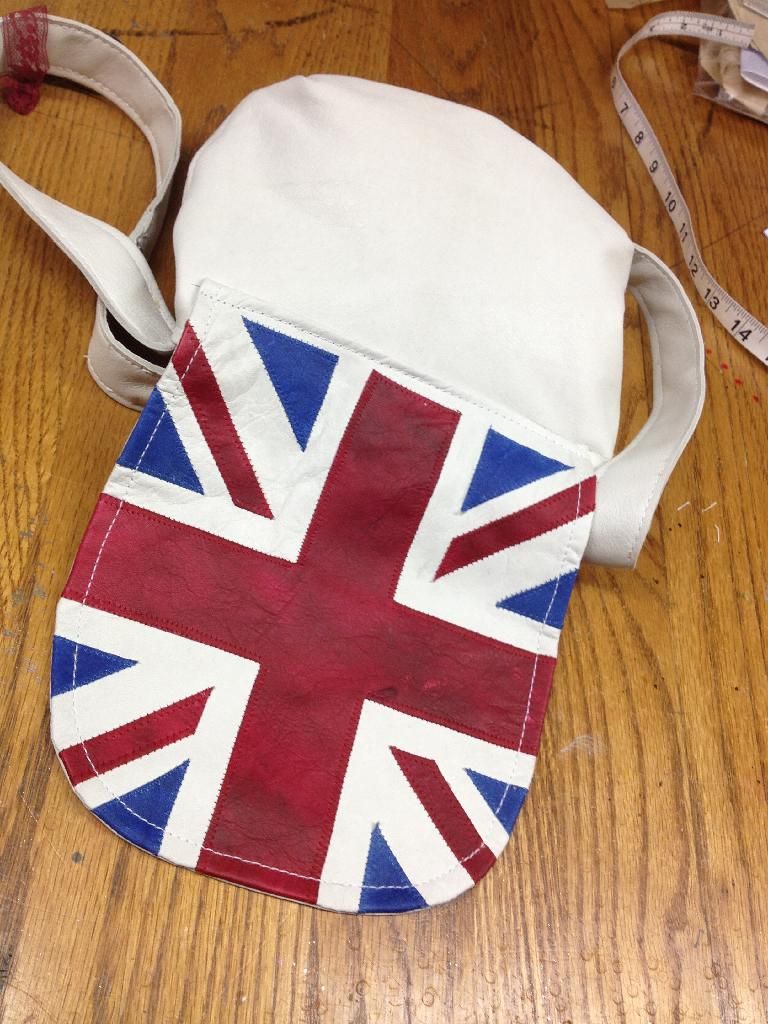
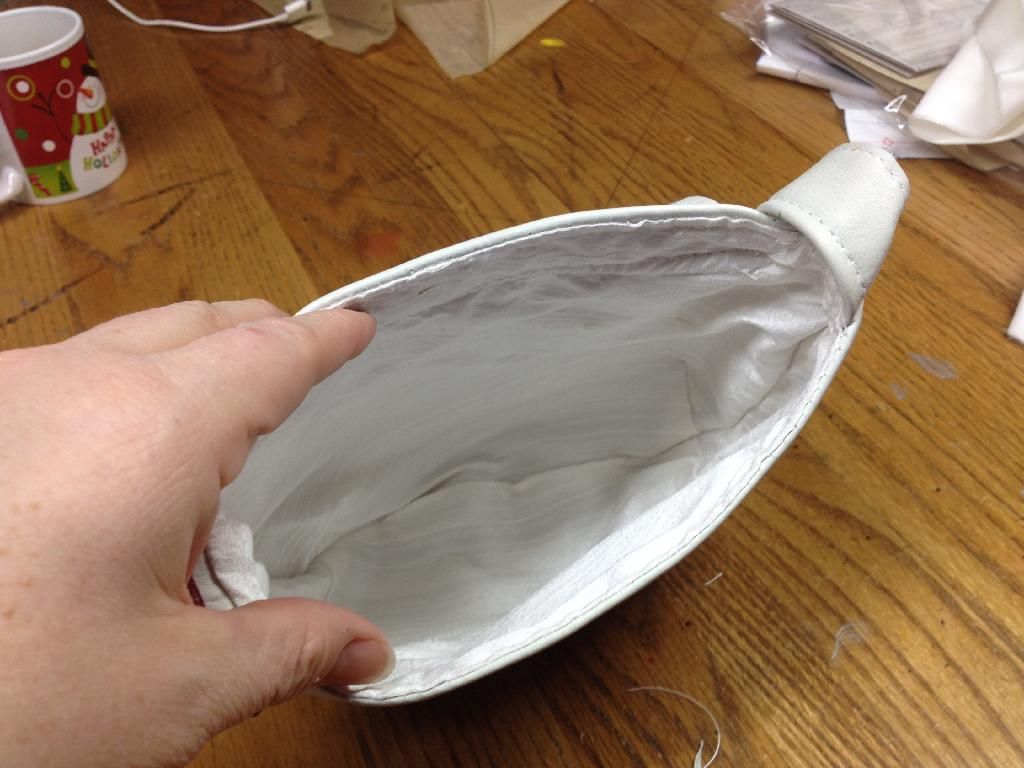
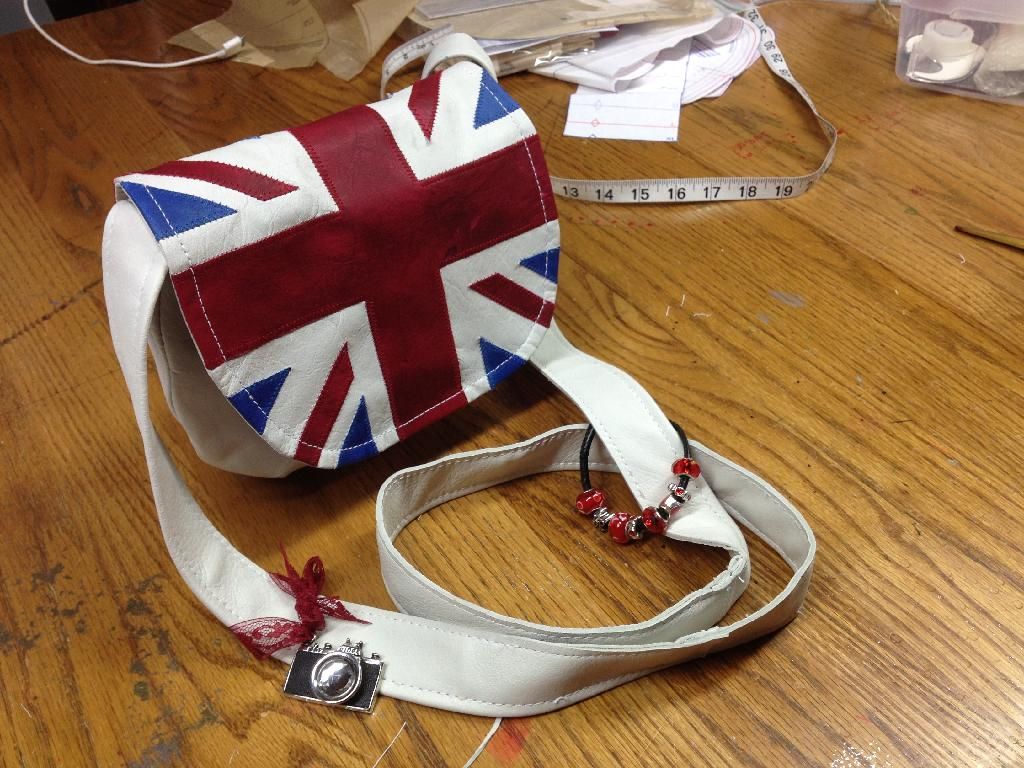
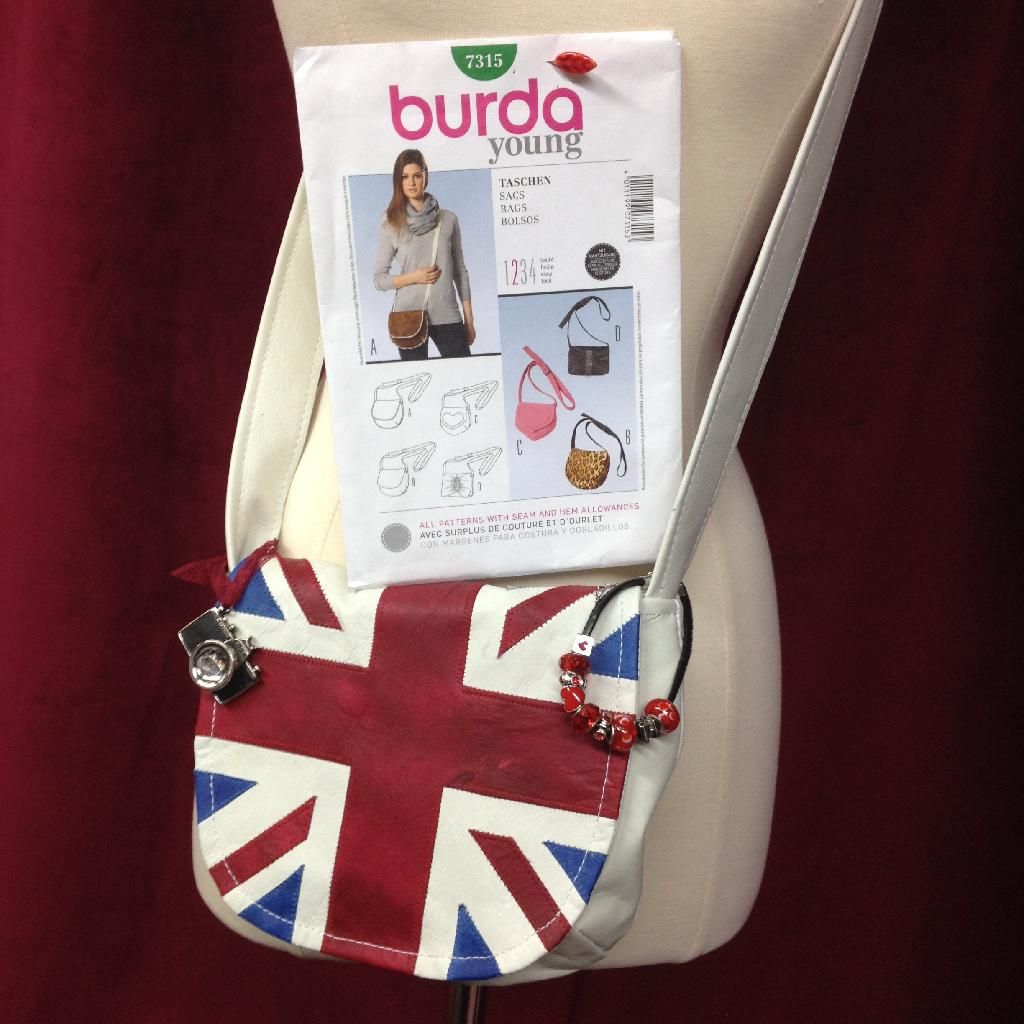
B7315. Just three pattern pieces. Not too big, it'll hold your phone, some lip gloss, movie tickets to see Hobbit 2 for the third time, and some contraband Reese's Pieces, but not much more. 

***

Offspring the Younger is an Anglophile. Dr Who, 1D, Sherlock, etc. I had been tinkering with Union Jack designs for a duvet cover for her down comforter and I found a square Union Jack at Flagspot.net. I printed one off to scale up to comforter size but hadn't gotten very far with that. 

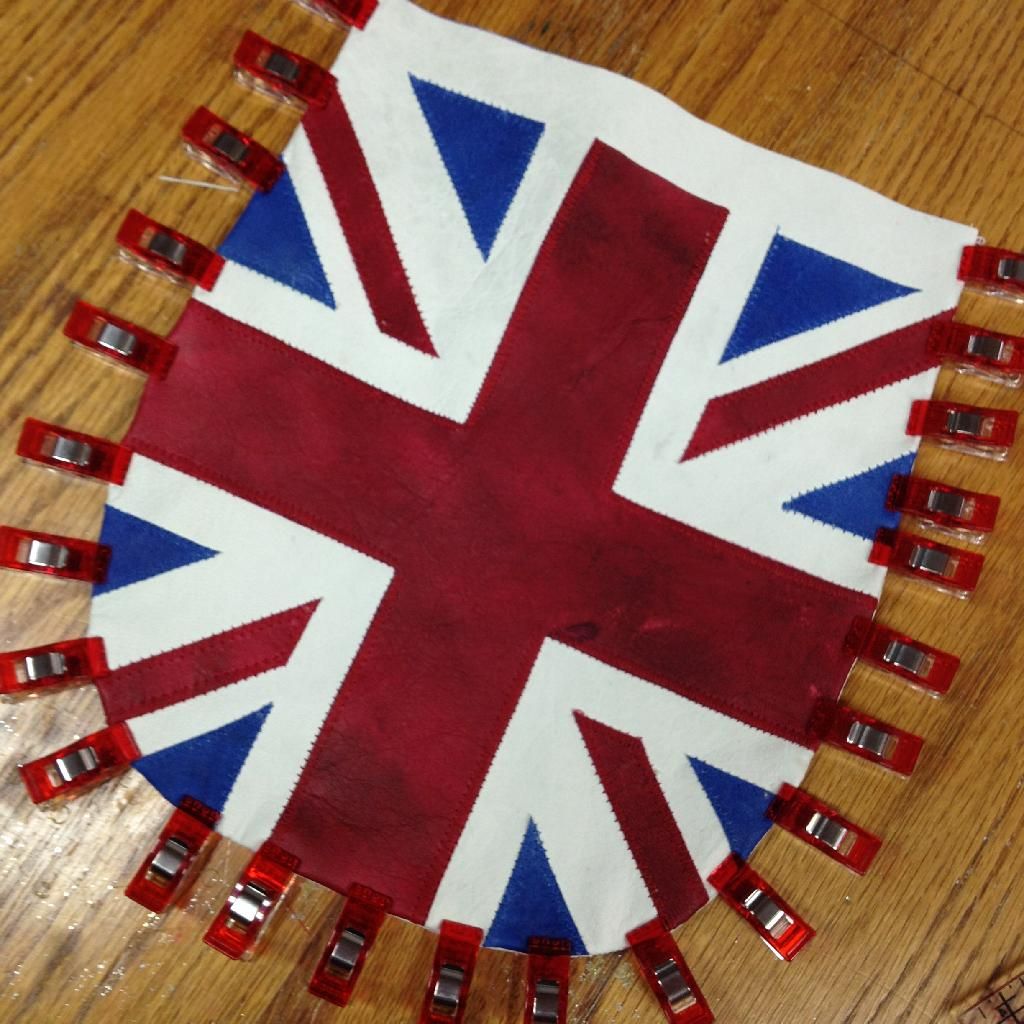
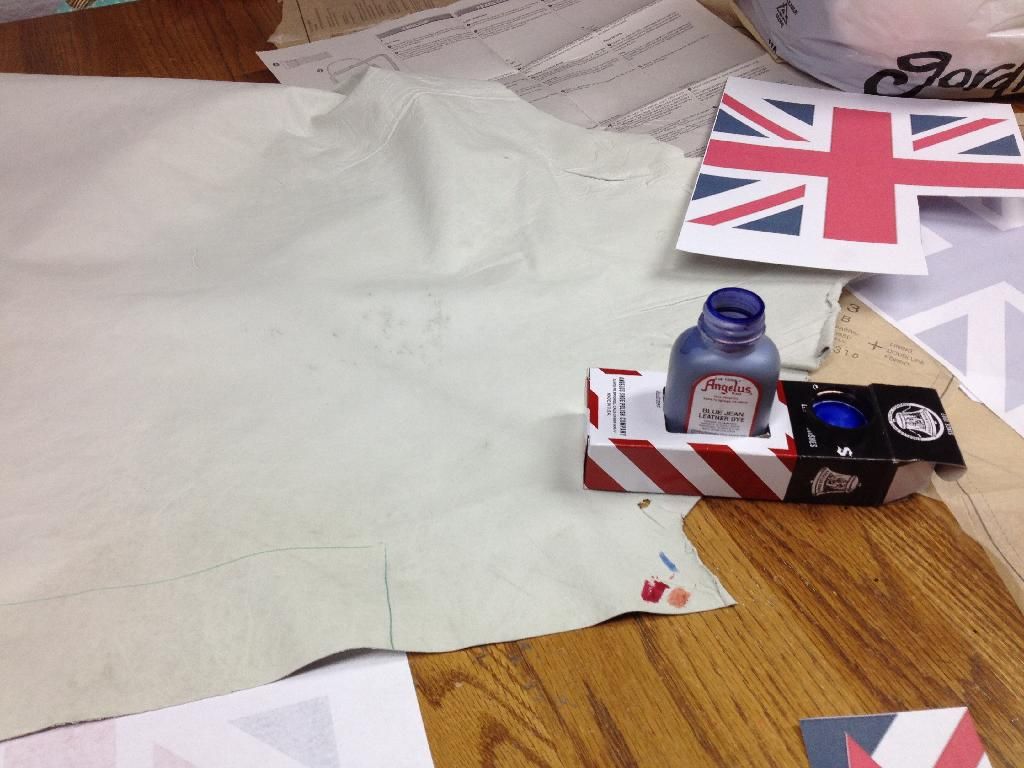
10:15 pm, B7315 in hand, I happen to glance at the flag and that was when sleep stopped being an option. The print was exactly the right size to fit the flap of the bag. I have three off-white garment weight sheepskins perfect for handbaggery. I have oxblood red and denim blue leather dye. 

(Red+Blue=Violet. I swear I do violet things!)


The skins are from Brettuns Village. The dyes are Angelus Leather dyes. I roughed out an area for each of the colors and swabbed on the color


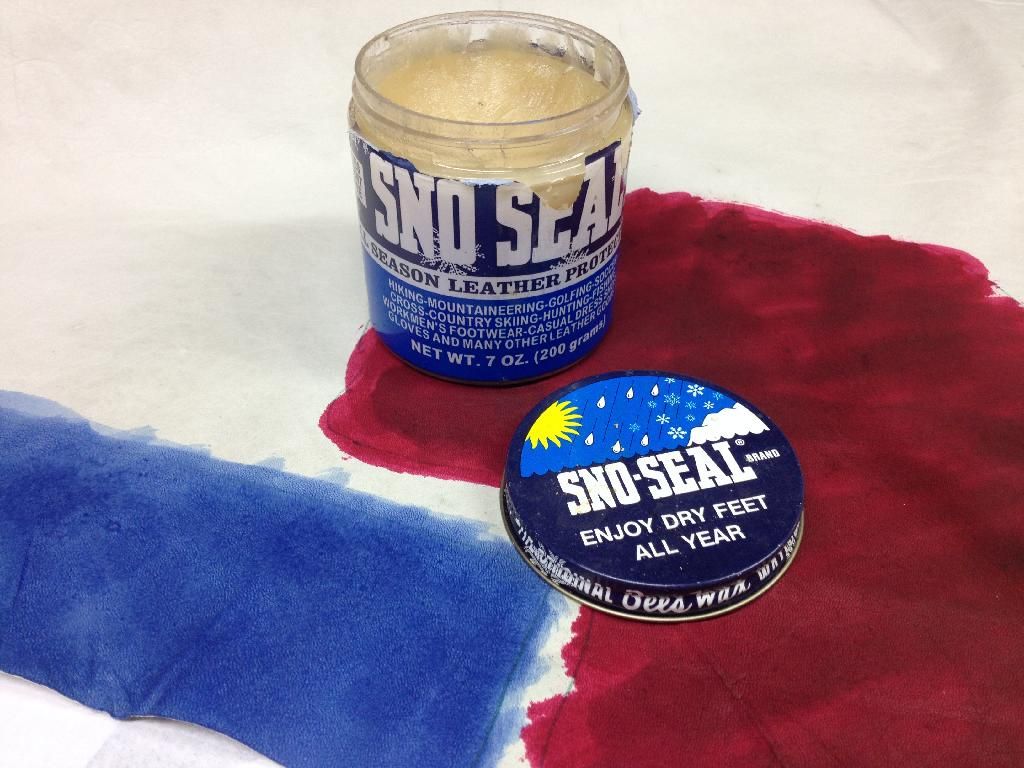
The red was too dark on the first go, but I have dye reducer and that lightened it up. I dried the dye with a hairdryer and then used SnoSeal to lock the color. I really glommed the stuff on and then heated it again to melt it into the leather. A buff with some scrap wool  removed the excess. 


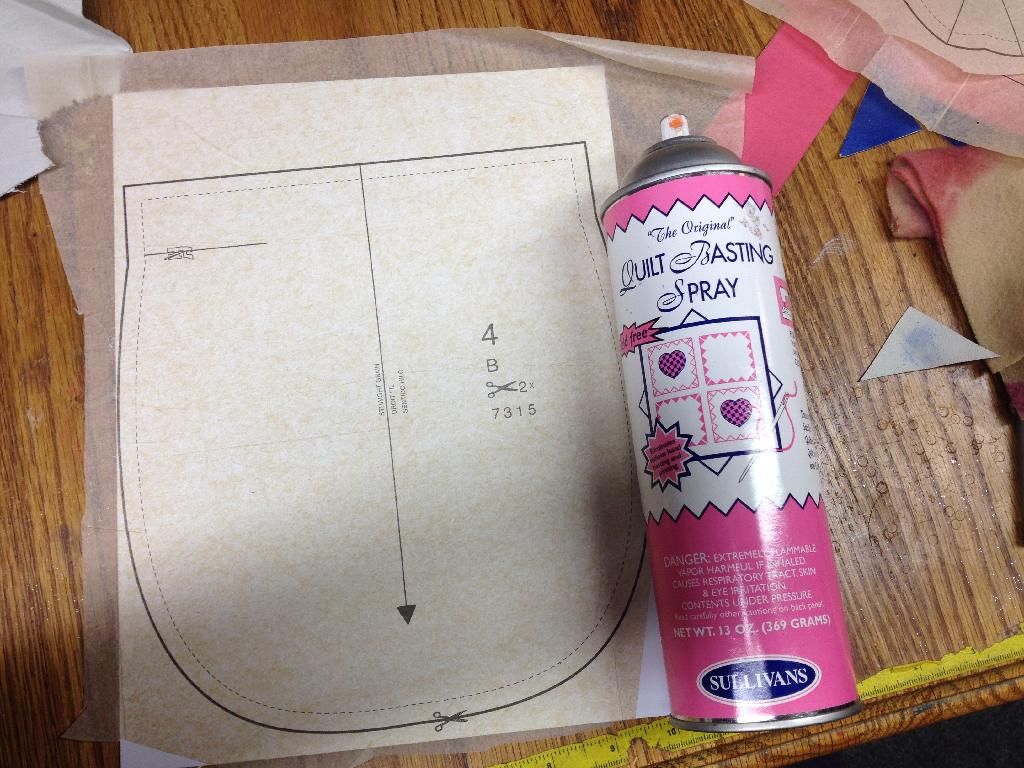
I used some basting spray to stick the pattern pieces to card stock to make a template to draw the pieces out with ball point pen. 


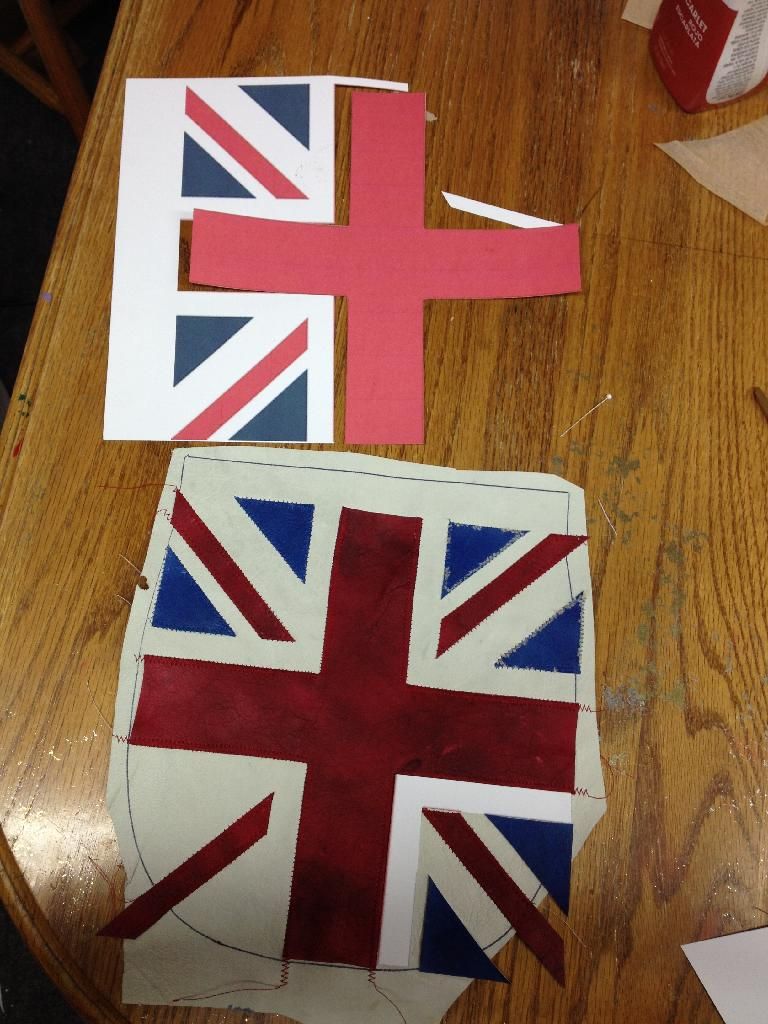
I reprinted the design on card stock for templates too. 


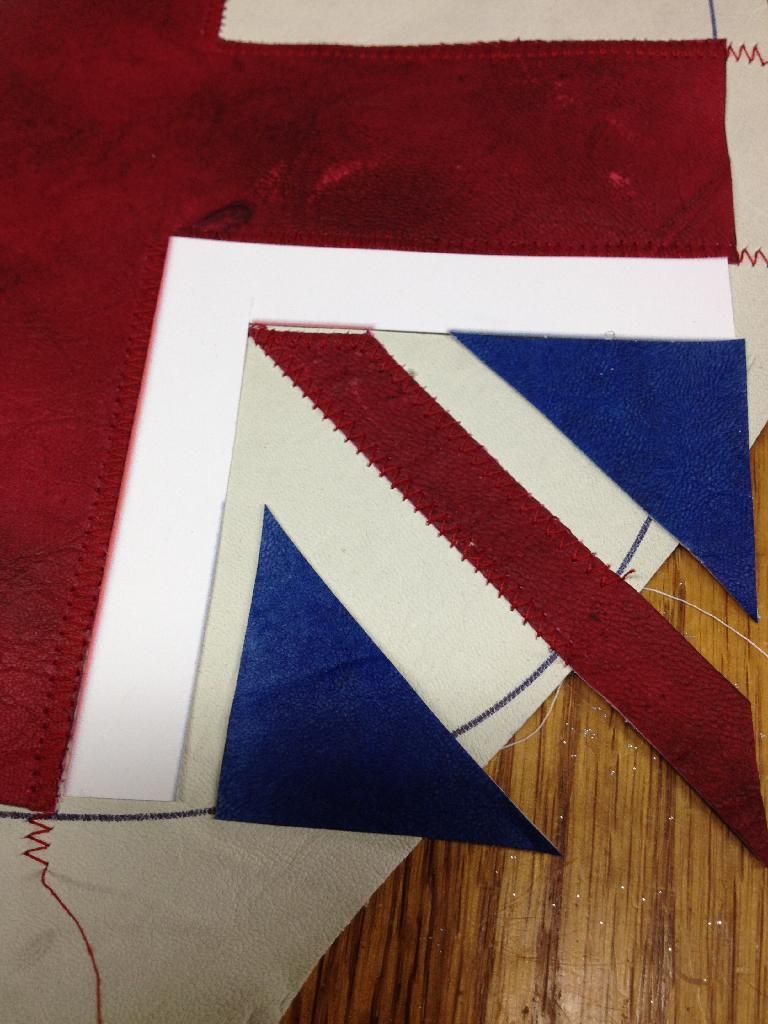
The edges of the colors showed on the white card pieces and made a neat little placement tool.


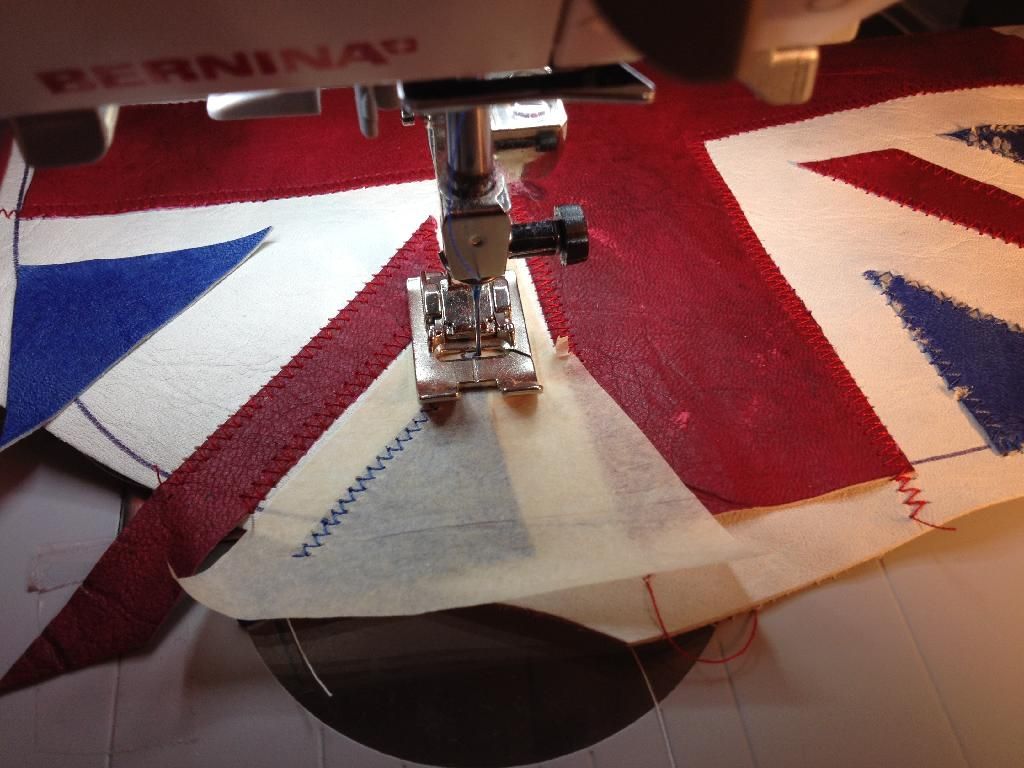
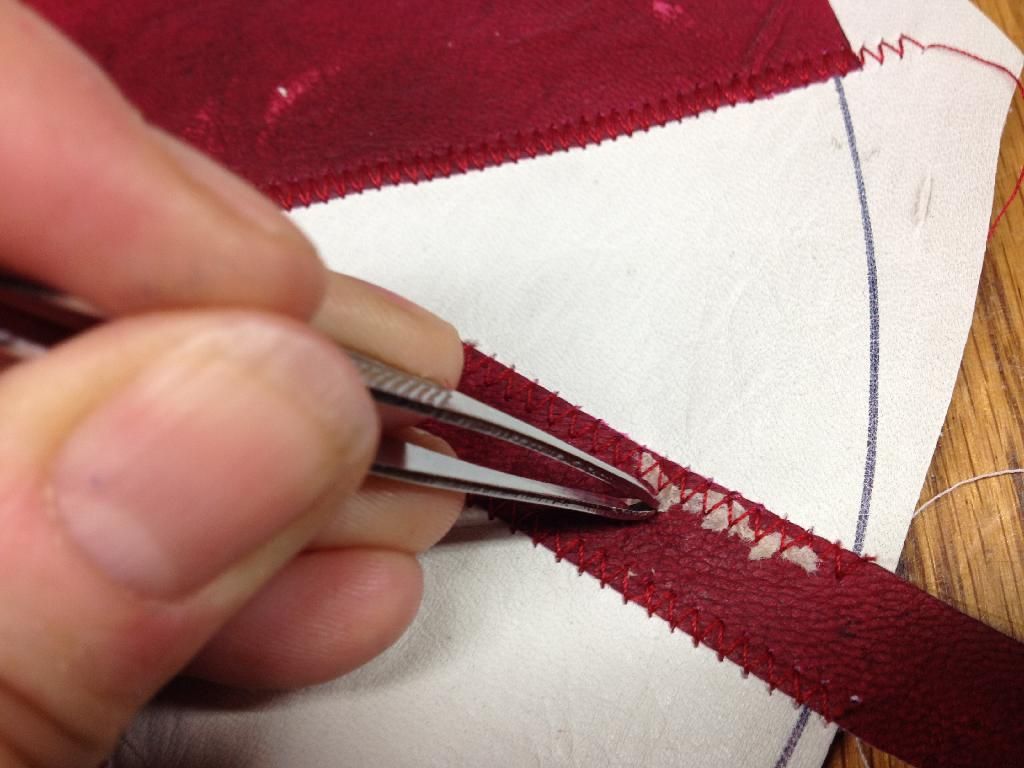
I don't have a non-stick foot so I used pattern tissue scraps to cover the leather...


...which meant I had to spend some time pulling out the bits after tearing away. 


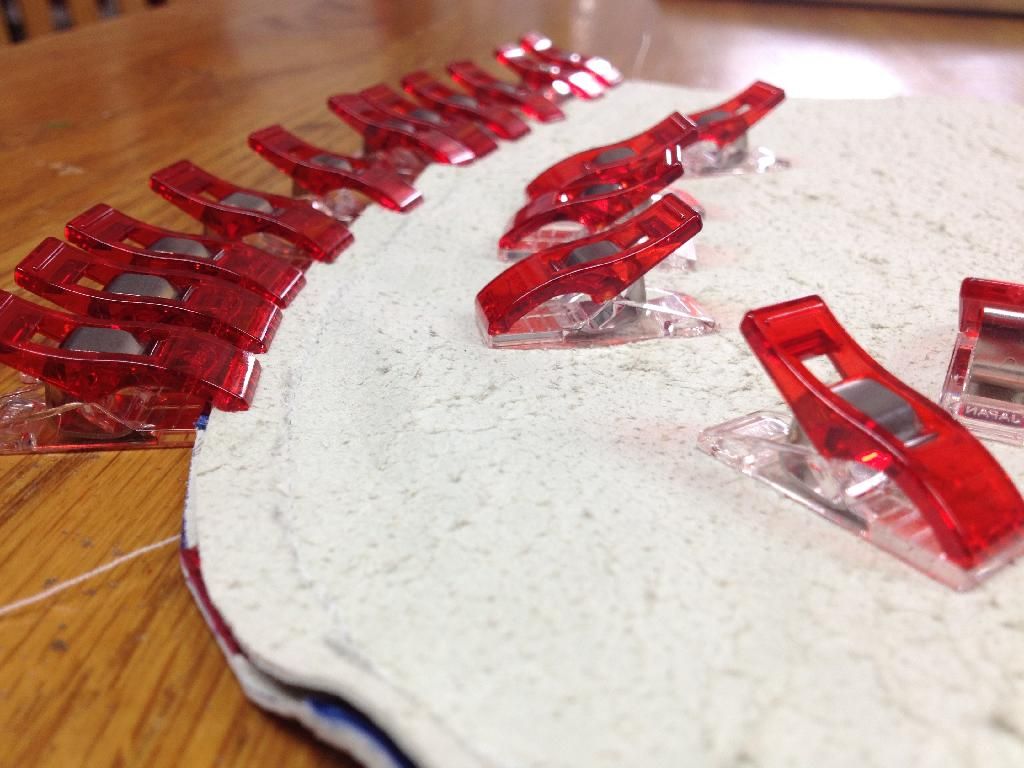
Wonder Clips. If you don't have them, get some. They rock!


Cue the playlist! 

The Clash (London Calling)
The Sex Pistols (God Save the Queen)
The Damned (Neat Neat Neat)


At this point (2 am) the mania let up and I needed heavy topstitching thread. (Thread. The one thing I didn't have for this project. Go figure).


The bag part goes together super quick. Two darts on each side and a long strap. There is a strap pattern piece but it's just a three inch wide strip so I drew it straight onto the leather. The pattern has a buckle but Offspring didn't want it so I just made a fixed length.


The strap goes on first and the lining (white silk) finishes everything off. 


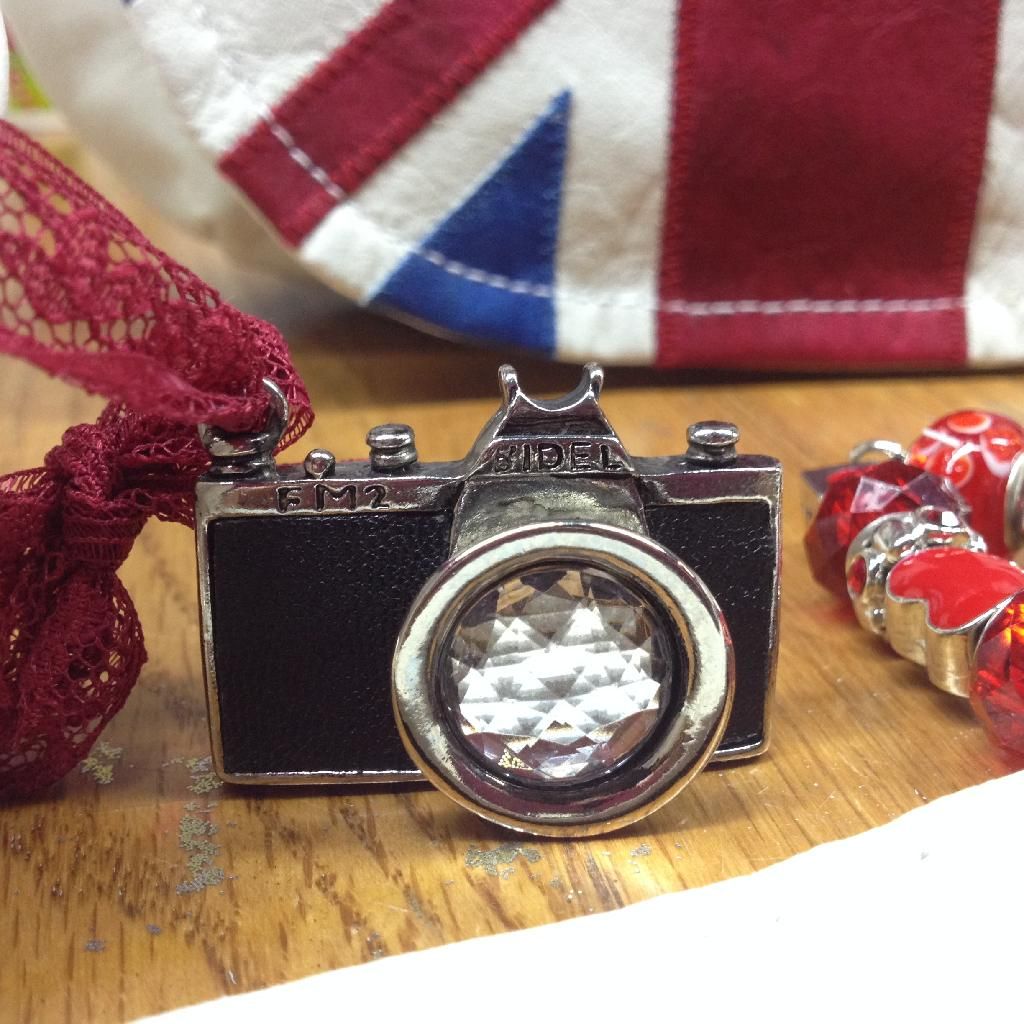
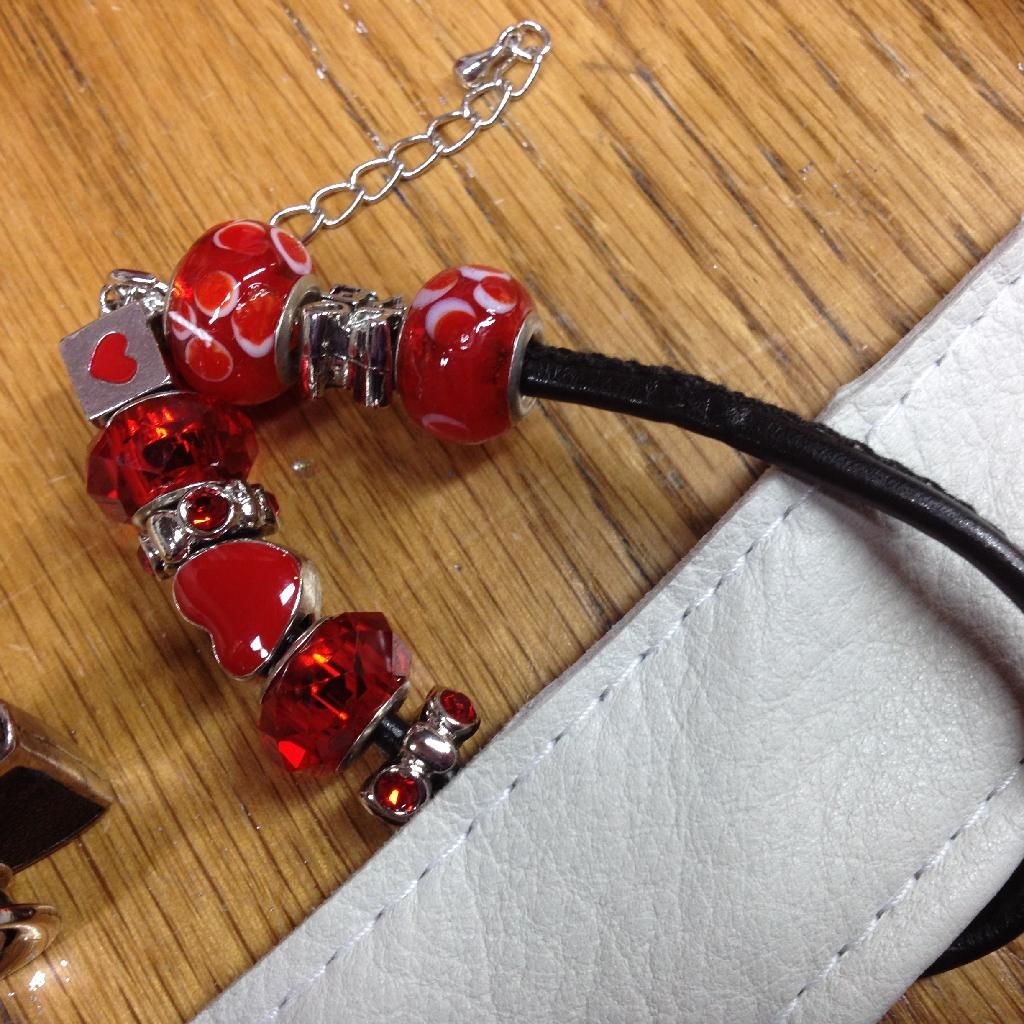
While I was out to get the topstitching thread I picked up some doodads to decorate with. 


Offspring loves taking pictures.


I finished the bag on Valentines Day.


Great little pattern, but sadly discontinued. If you happen across it, snatch it up! :D


Wednesday, December 25, 2013

McCalls 6442

I started this blog as a place to talk about wonderful purple things that I sew. So of course the first thing I have to post is red. Whatever.

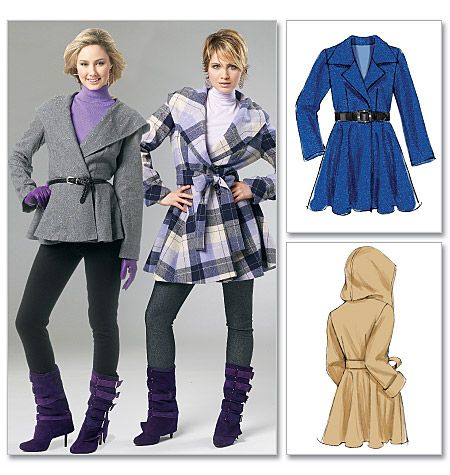
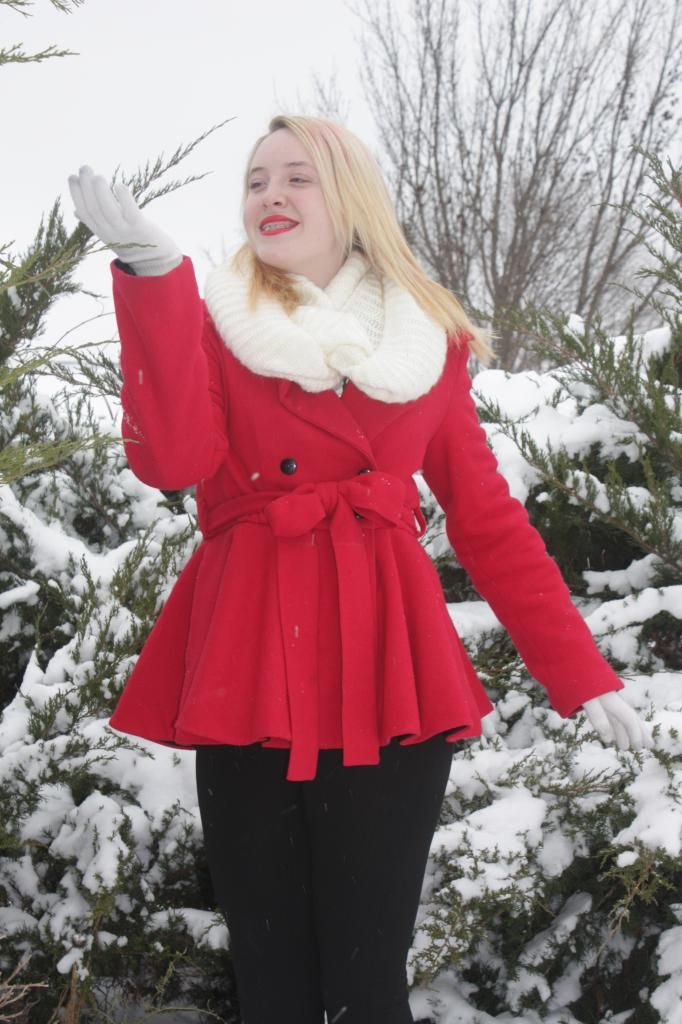
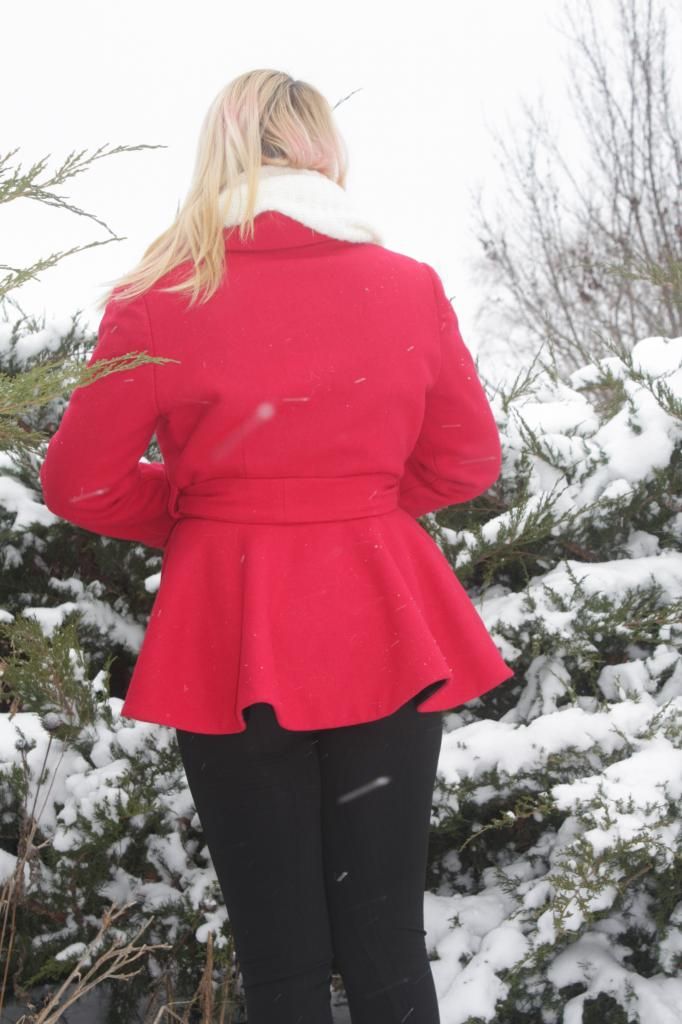
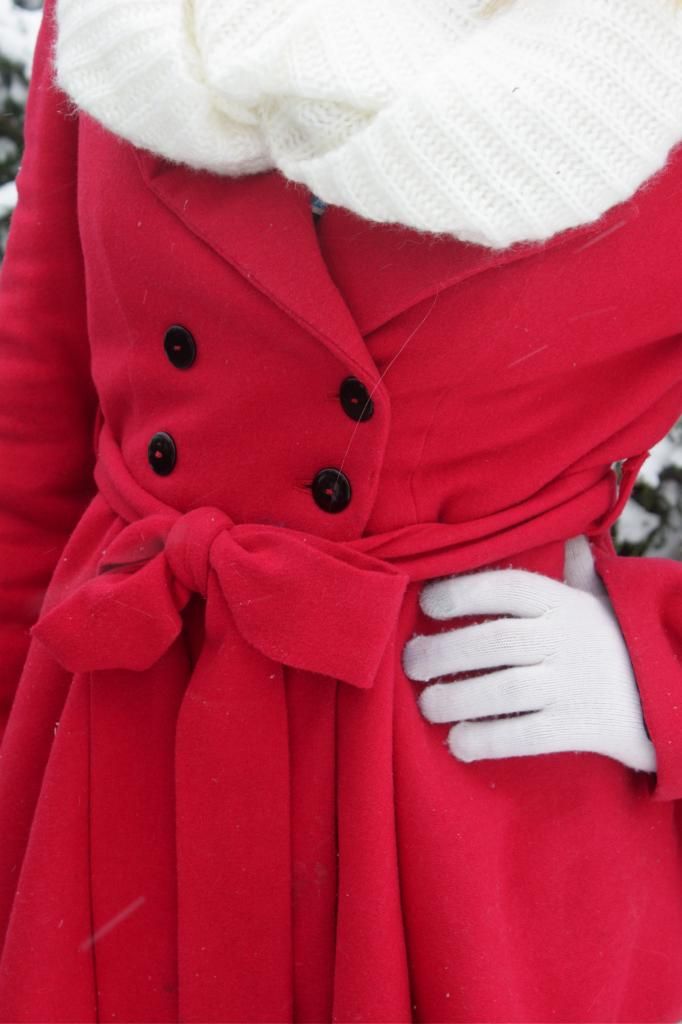
Offspring the Younger was asking for a winter coat in the peplum style, in red. How lucky that her desire to wear a red coat coincided with my desire to sew a red coat!


I had tried McCall's 6442 once before for myself but totally botched the FBA and ended up just wadding it. Offspring doesn't need much in the way of alterations to Big4 patterns so I dug it out again for her.


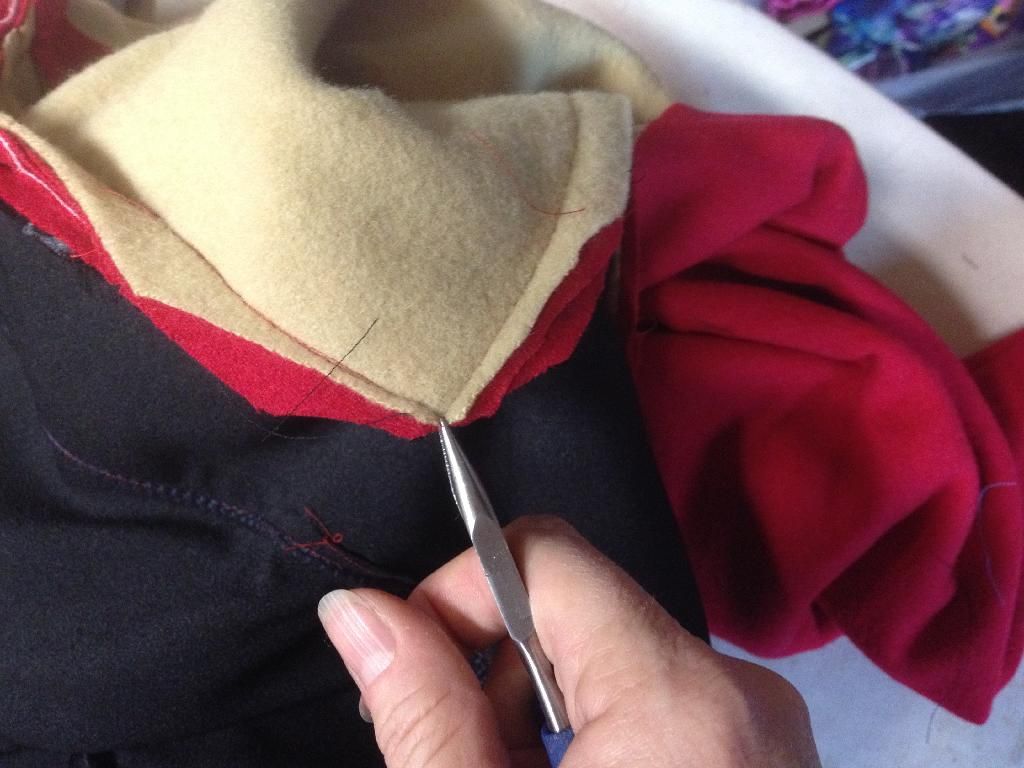
She wanted lipstick red and the only bright red wool I could find locally was a red 100% wool at JoAnn's. It was more like suiting than coating so I interlined with a 100% wool coating (the beige fabric) I had in the stash from an online purchase.


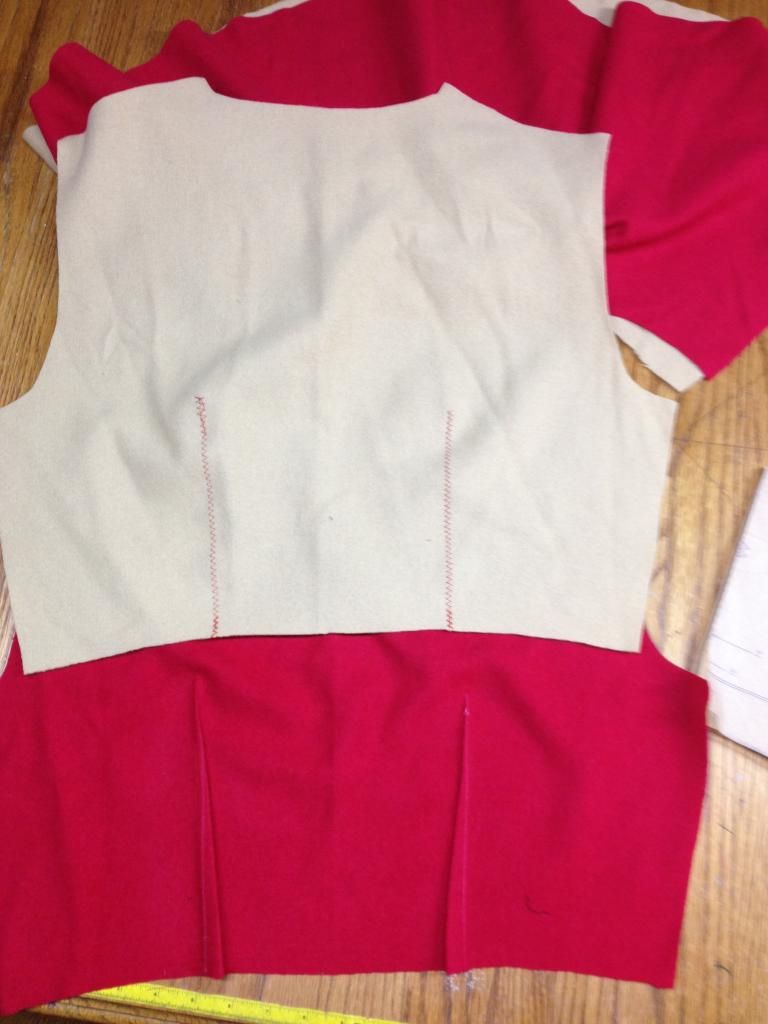
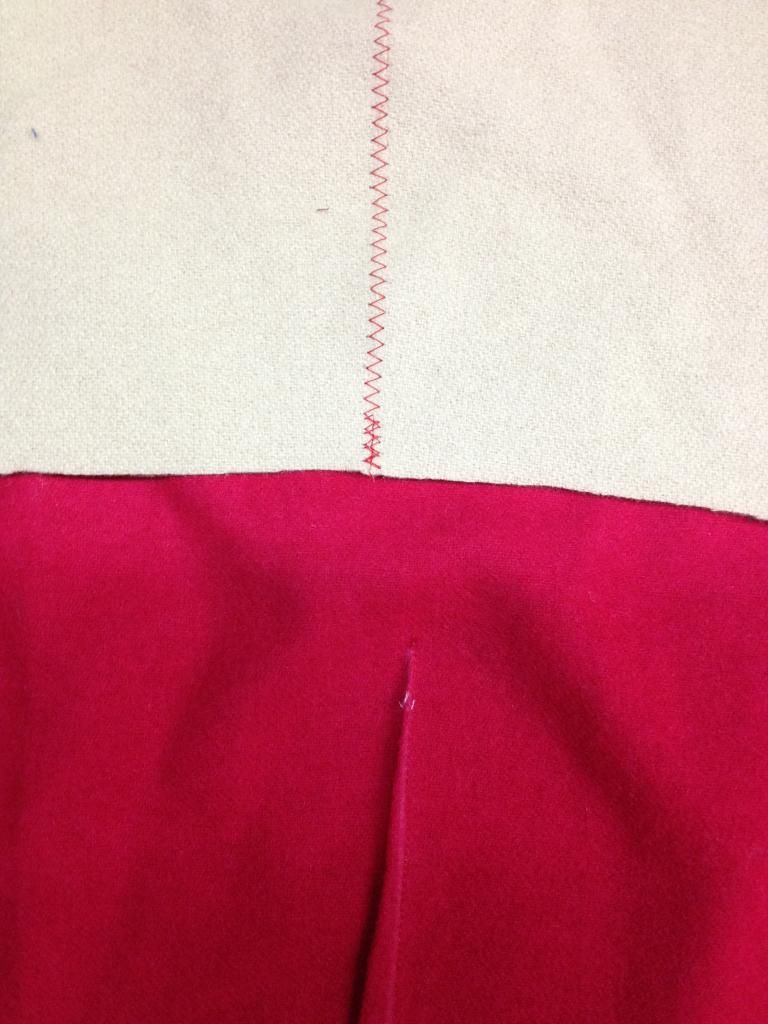
The coating is THICK stuff so to reduce bulk I cut out the darts and zigzagged the edges together.


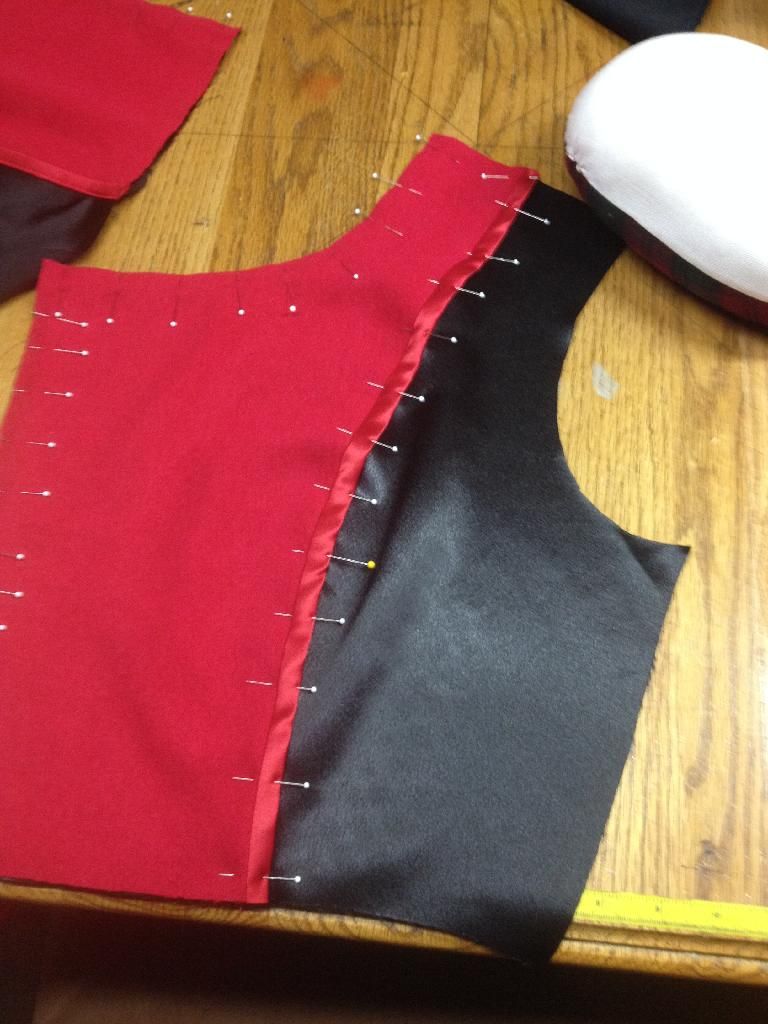
Another bulk reduction feature I've been doing in coats lately is a hong kong binding on the facing/lining edge. M6442 calls for the lining piece to be the same as the bodice front piece and then lay the facing in place and treat the whole piece as one. Instead of turning under the edge of the wool facing, I did the binding and then stitched it down. 

(In a pattern where the facing is seamed onto a bodice side piece I've cut the facing back to the seam line and done the binding, then lapped it over and matched seam lines on the lining piece.)


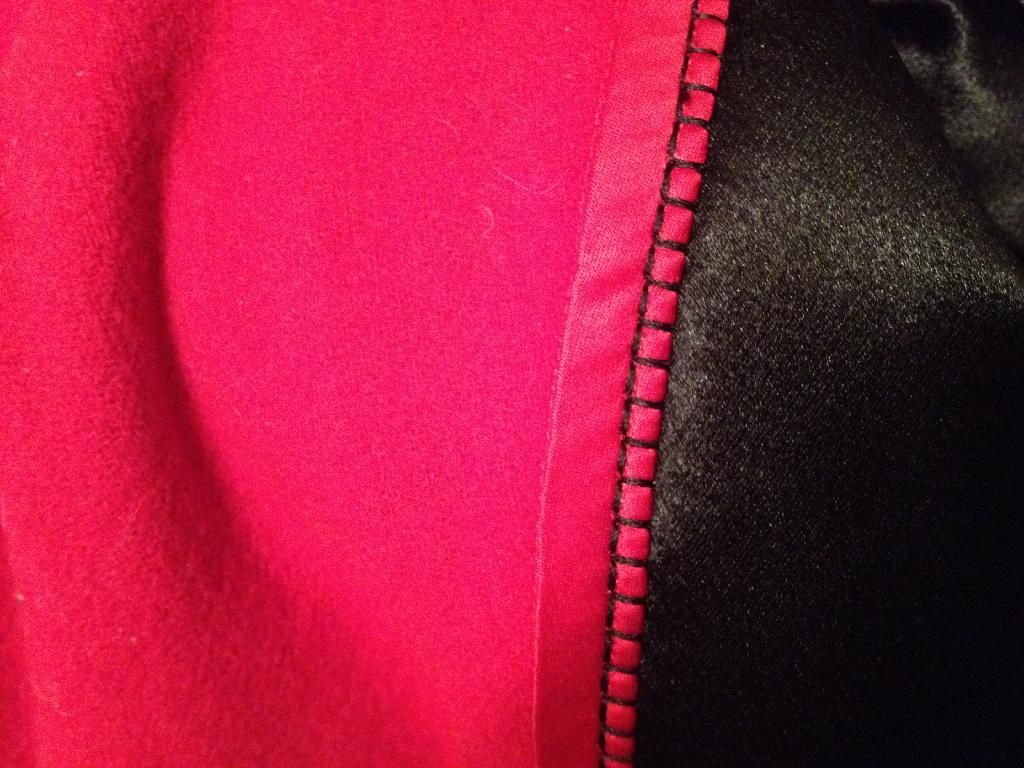
Offspring had strong opinions about her vision of her coat and wouldn't let me line with black and red cherry blossom brocade, opting instead for plain black crepe-back satin from Hancock's. I snuck in some heavy blanket stitch for a neat detail and also because I'm constitutionally incapable of leaving well enough alone. 


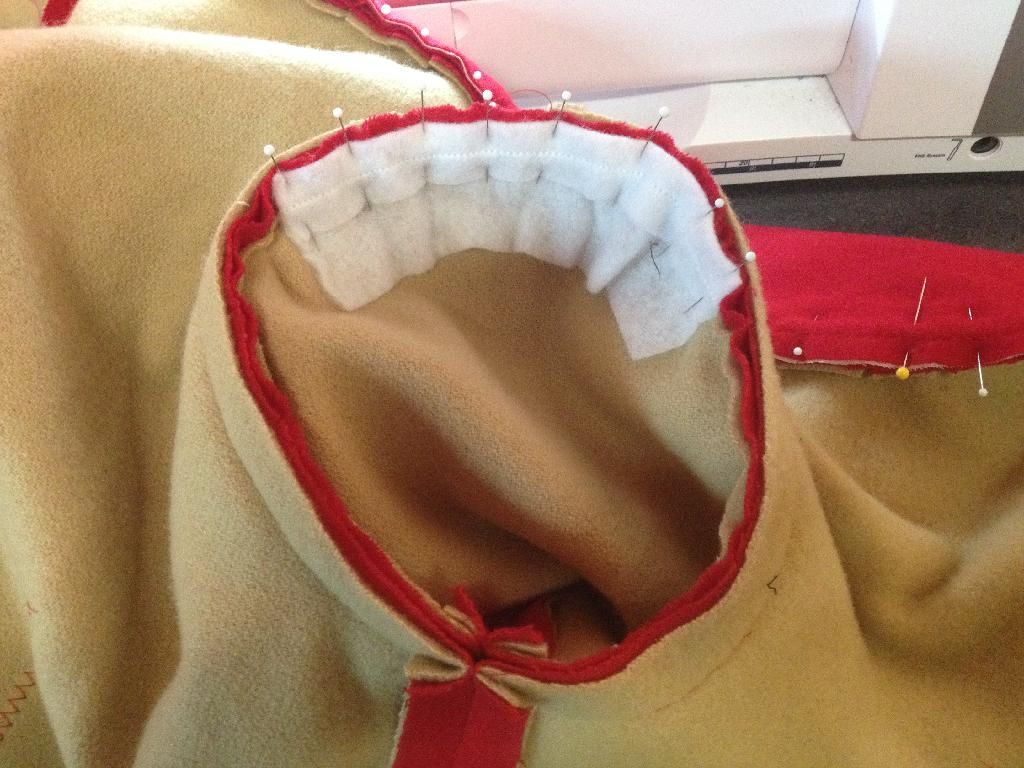
The shoulders seemed a little soft but when I tried shoulder pads it seemed like too much. Sleeve heads turned out to be just the right amount of support


I discovered a while ago an easy way to turn collars and other points. I trim as usual and then use my jewelry making pliers to grip the point. I keep hold as I turn and can get the points right out where they belong without any trouble. 


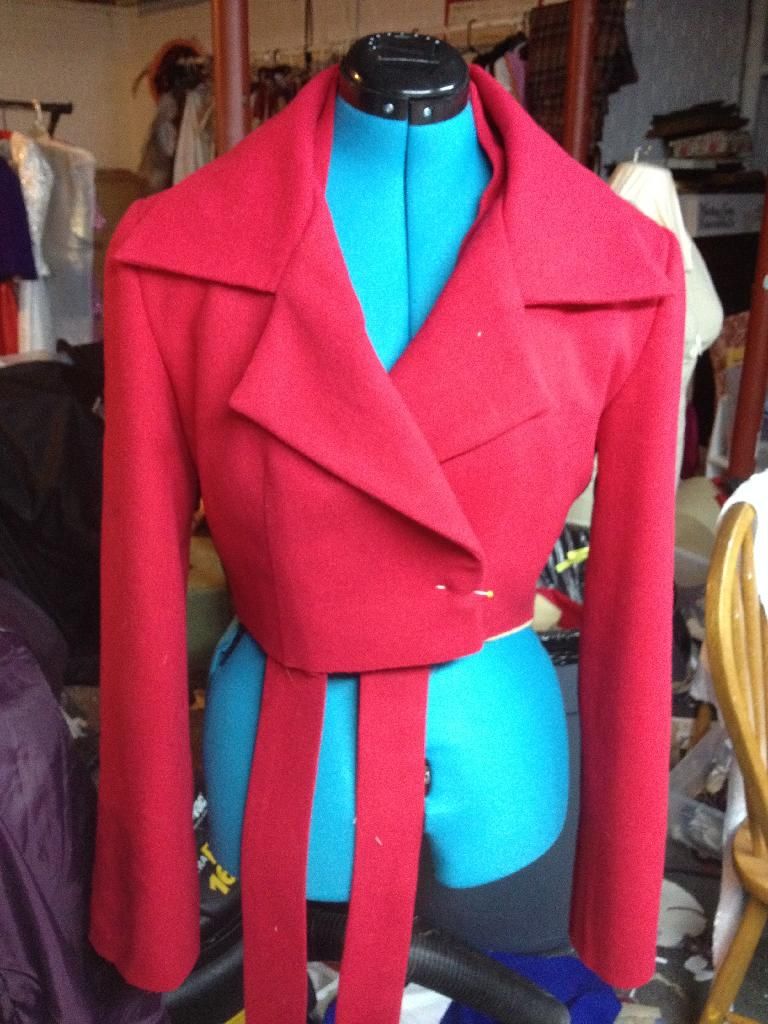
Offspring was away at a choral music festival when I texted her this picture of the finished bodice. In return I got "asdfjkl!!!" which is teentext for jumping up and down and squeeing.


The skirt went on without incident. The pattern calls for just a belt tie for closure, but doesn't include belt loops. Loops were an easy addition but what the heck McCalls?  In any case, Offspring had wanted a double-breasted coat and it was easy to add buttons at the end. 

The two layers of wool and heavy satin lining make it super warm and the cute style makes all the girls at school want to know where she got it. Offspring is loving her new coat. My job here is done. :D